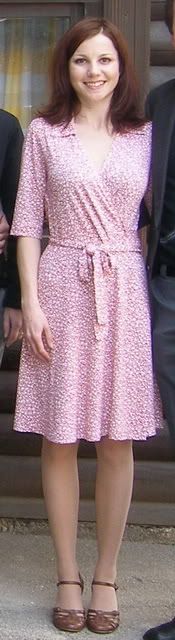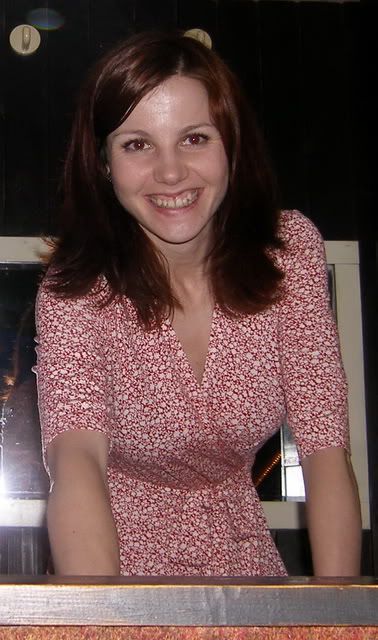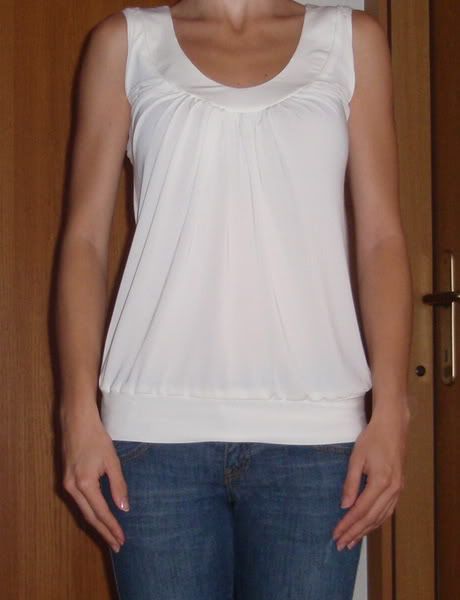
Pattern Description: Relaxed scoop neck tops gathered onto a deep neckband, choice of short, cap or no sleeves and 2 lengths plus banded finish.
Pattern Sizing: Multisize 6-26. I made my muslin in size 8, which should be the right size for me according to my measurements. I found it to be too big, so I made my final garment size 6.
Did it look like the photo/drawing on the pattern envelope once you were done sewing with it? Yes, except mine looks ore gathered at the front.
Were the instructions easy to follow? I actually followed the instructions on Pam's Off the Cuff blog.
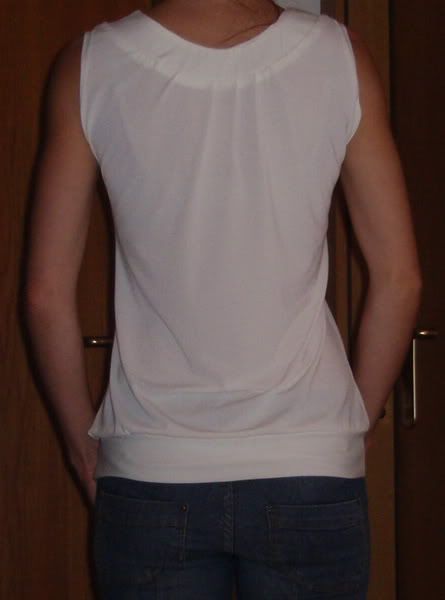
What did you particularly like or dislike about the pattern? I love the style of this top. I, however, don't like the gaping neckband at the back. I had to re-draft the neckband piece.
Fabric Used: Rayon - lycra knit with a wonderful drape.
Pattern Alterations or any design changes you made: As I mentioned before, I first made this top in size 8. First thing I did, in order to fix all the gaping parts, was I went down a size. That solved everything except the gaping at the back. I took some scraps and made a neckband piece and played with it and slashed it until I got the desired effect. Here's how my pattern pieces look like: 
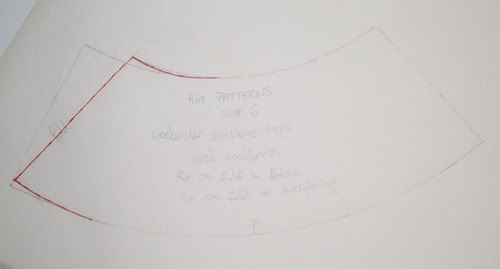
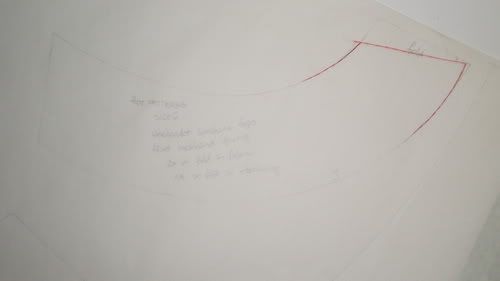
The red lines are alteration lines.
This is the neckband piece looks like after using my pattern alterations. 
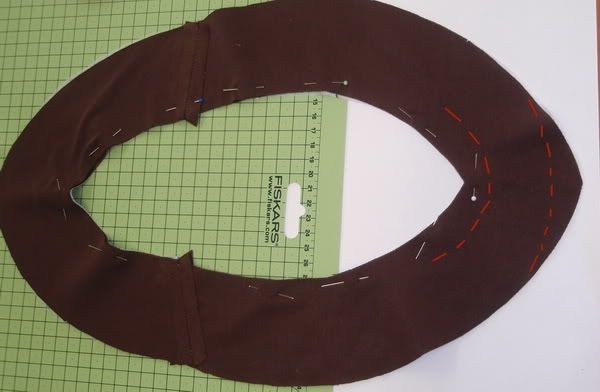
You might be wondering where did this brown come from... Well, I wanted to have a contrasting neckband, but the final look was just not what I had pictured in my mind :)
As you can see, due to all the alterations, the neckband piece turned out quite pointy. The red lines on the right are the stitching lines (except less wonky, I can't draw with my mouse). I went in 2cm on the inner edge of the neckband because I found the original too wide. On the outer edge, I just smoothed out the pointy part.
I interfaced the inner neckband piece with Sew Exciting's Pro-Tricot Fusible interfacing and I truly cannot say enough good things about this interfacing.
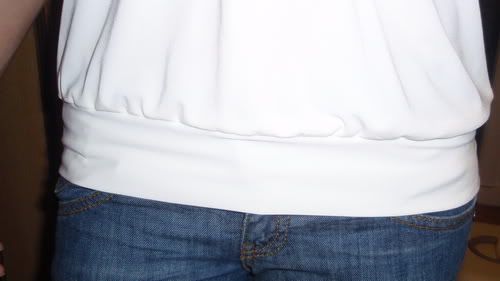
I also didn't use the ribbing on the waistband. I used my fabric and made 2 bands 14cm wide, folded them in half and sewed them to the top using a narrow zig-zag stitch.
Back of the top:
Would you sew it again? Would you recommend it to others? After the alterations I made, I will definitely sew this top again. And I do recommend it to others.
Conclusion: I have to admit I was a bit frustrated with the neckband, since I didn't find any reviewers who had this problem. But, as they say, all's well that ends well. All in all, this is a great top and I'm sure I'll be making a few more.
Hot Patterns: Weekender Sunshine Tops - Review
Saturday, July 11, 2009
Posted by Maja at 1:48 PM 2 comments
Labels: Hot Patterns, review, top
Harem Pants - Self-drafted
Sunday, June 7, 2009

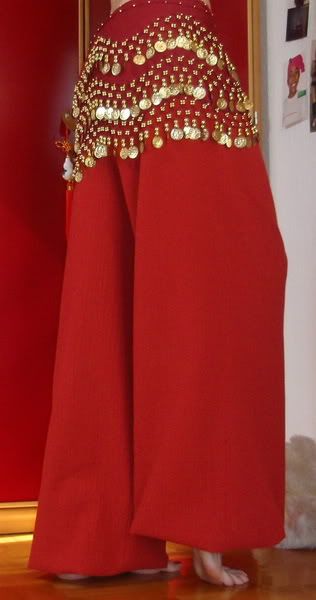
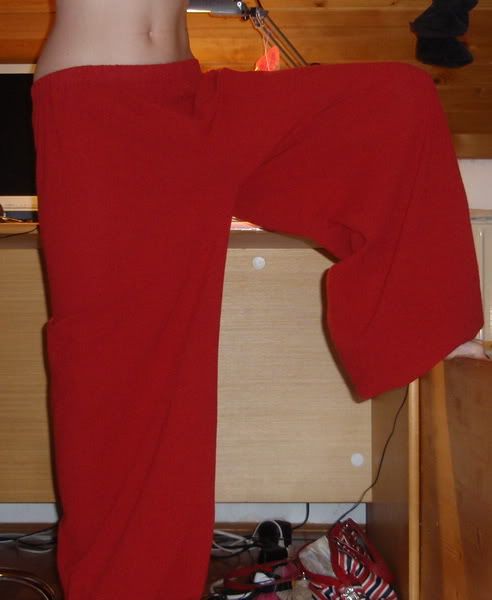
This is the final trial version of the harem pants for my belly dancing class before I cut into the pretty fabric. These pants are wearable, I already wore them to a class last week and everyone absolutely loved them. I already received a request from another girl.
I followed the instructions from the Pants for the Dance book I wrote about in my previous post. I started with a pattern for yoga pants, morphed together both, front and back, sides to eliminate the side seam, widened the pants and dropped the crotch. The book encourages you to start with a commercial pattern so there are no actual measurements, except recommendations for widening the pant leg. Which means that everything I did was pretty much an educated guess.
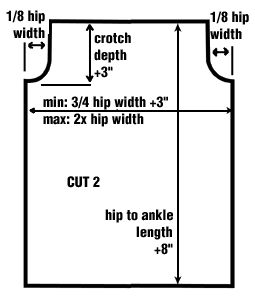
Two days later I found this diagram on the internet:
credits: http://www.zilltech.com/FAQCostumeHP.html
I measured my version of the pattern and realized I was off by mere 0.5cm = 0.2in. (Sweet!)
The pants really simple to put together. There are 2 inside seams and a crotch seam. For the waistband and the ankles I folded the fabric and inserted the elastic and voila! my own custom-made harem pants. It took me less than an hour to put together.
Fabric: I used a gauze-like cotton fabric I had in my stash for a while.
Here are a few extra pictures:
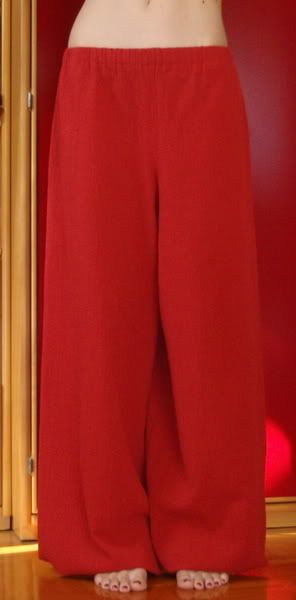
front:
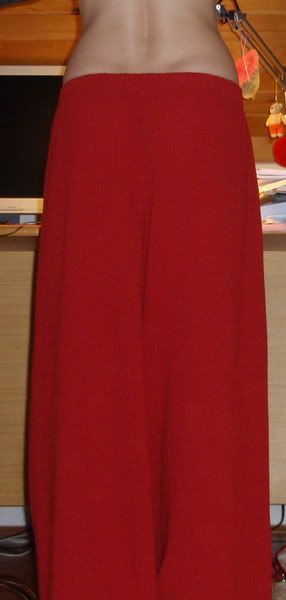
back:
Here you can see the width of the pant leg:
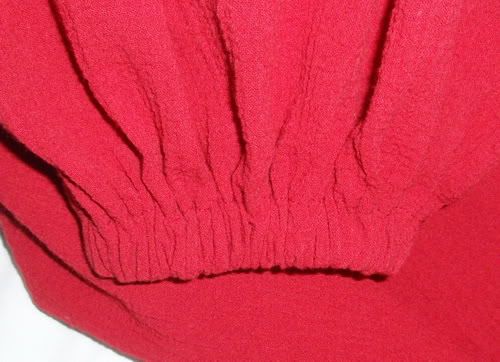
Detail of the elastic at the ankle. You can also see the fabric here:
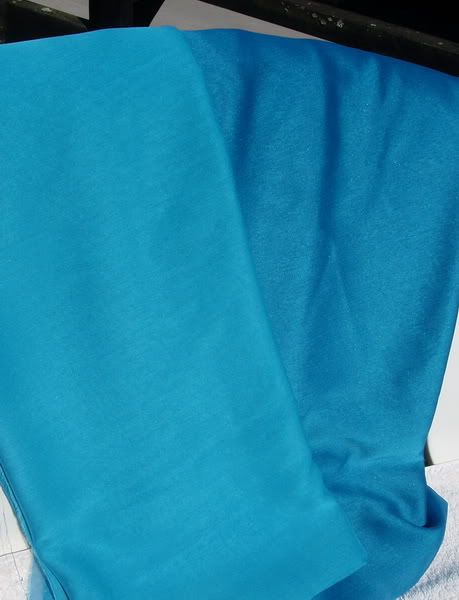
I'm planning on making the same pants from this polyester fabric:
The darker fabric will be on the outside and the lighter will be used as lining.
Construction wise, these pants will be more challenging because of the see-through quality of the fabric. Although I have seen the seams on the store-bought pants simply serged together, I'm leaning more towards the French seams... I'll try and see which will work best.
Posted by Maja at 11:16 PM 4 comments
Labels: belly dance, drafting, pants, review, self-drafted
Jalie 2445
Friday, March 20, 2009
I needed pants for an oriental dance classes I started taking, which are, by the way, so much fun it's unbelievable. I'm loving it! I was looking around in stores and all the pants I liked were considerably over-priced. So, I decided to make them myself.
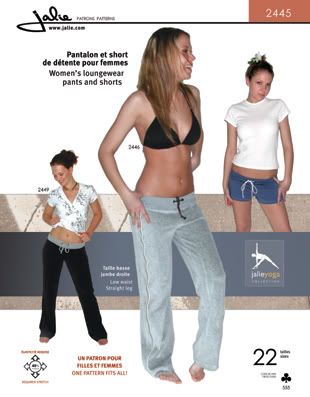
I used this Jalie pattern, which turned out to be another winner.
Pattern Description: Women's loungewear pants and shorts - The comfortable pants you have always been looking for! Easy-fit stretch pants or shorts, with drawstring wasistband for incredible comfort, straight for a flattering look.
Pattern Sizing: All sizes from children to women. I made size R without alterations.
Did it look like the photo/drawing on the pattern envelope once you were done sewing with it? Yes.
Were the instructions easy to follow? Very easy.
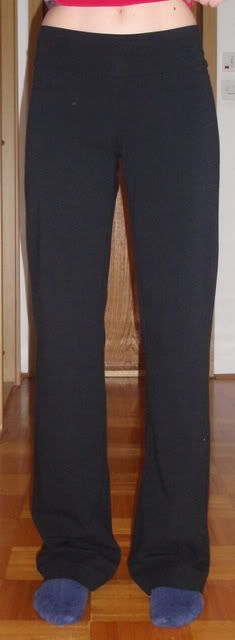
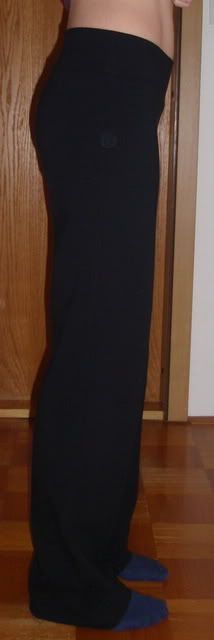
What did you particularly like or dislike about the pattern? I love this style, it's very comfortable and straight leg is very flattering. I love the fact that I made the pants in less that 2 hours from tracing the pattern to the final seam.
Fabric Used: Cotton - lycra knit. This knit is quite heavy in weight and has amazing recovery. It's perfect for this type of pants.
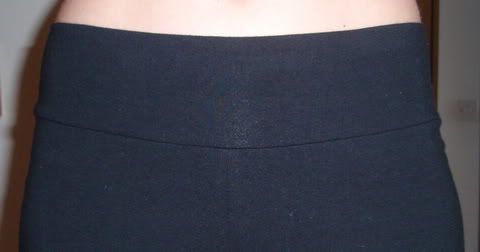
Pattern Alterations or any design changes you made: I omitted the drawstrings in the belt and made the waistband from a simple band, that I cut 3cm shorter that the waist. This way the belt is stretched just enough that is comfortable and makes the pants stay put. 
Would you sew it again? Would you recommend it to others? I'll sew it again very soon and I do recommend it to others. I've seen pants made from this kind of fabric that are priced around 30 or even 40€. I definitely saved some money on this one.
Conclusion: Great loungewear, yoga pant pattern. Very easy and fast to make. Another winner in my book.
Here are photos of the finished project, front and side view:

Posted by Maja at 9:09 AM 1 comments
Vogue 8379
Sunday, March 15, 2009

First of all, let me just state that I'm still alive and well. I've just been preoccupied with life.
As for this dress....
I needed a dress for my BF's grandmother's 80th Birthday party. And since I found nothing appropriate in my closet, I decided to make a dress. This turned into my own little Project Runway moment. Naturally, I decided to make the dress the last minute and ended up hemming it minutes before I had to leave home.
All the rushing aside, let me tell you I LOVE this dress. This pattern instantly became one of my favourite patterns.
I made size 10 straight out of the envelope, I made no special alterations to the pattern, except shortened it.
Click here to read my review on PR.
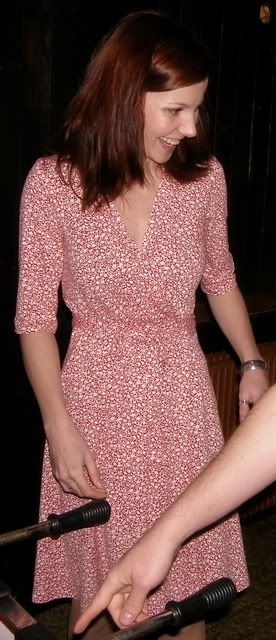
More pics of the dress. Please excuse my choice of pictures. I don't have any decent ones, so I'll just post the ones from the party :-)


(ignore my smile, my lips tend to spread without limits)
I also made some really nice sewing-related purchases lately and I'll share them in the next post in a day or two.
Posted by Maja at 1:10 PM 9 comments
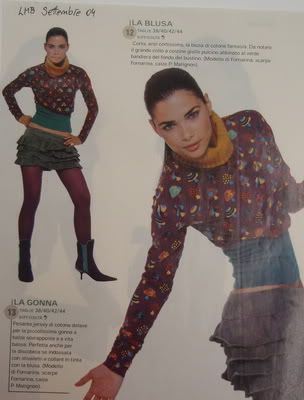
La Mia Boutique 09/2004 - Top #12
Friday, December 5, 2008


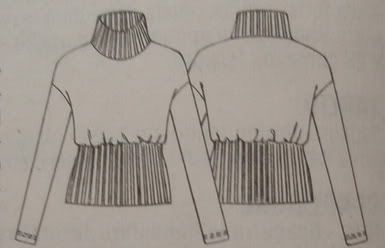
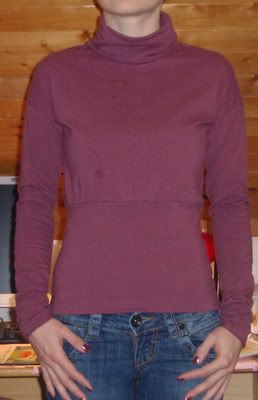
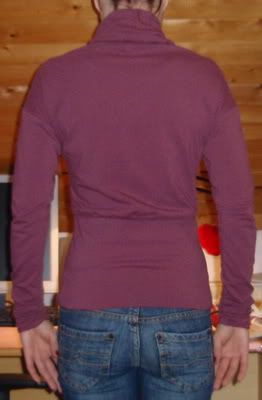
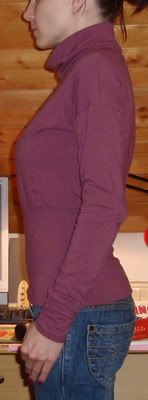
This is a pattern for a non-fitted turtleneck with dropped shoulder-seams and wide waistband.
Fabric used: 4-way stretch cotton jersey. I didn't use the rib knit as pictured in the magazine, since I couldn't find any locally.
The pattern: The pattern has 5 pieces, only 3 (the front and back bodice and the sleeve) are included in the pattern. You have to draft 2 rectangles for the neckband and the waistband yourself, according to the instructions: 40cm X 18 cm and 38cm X 20cm respectively. The measurements are for the Italian size 38, which corresponds to European 36.
What bothered me the most about this pattern is the fact that the photo in the magazine doesn't correspond to the given pattern pieces.
First of all, the neckline. The neckline (on the bodice) on the magazine photo is wide, so that the turtleneck is quite loose and not tight around the neck. Well, on the pattern pieces, the neckline is drafted as if it would be on a basic T-shirt pattern. And the neckband comes quite tight around the neck.
Since, that was not the look I wanted, I lowered the neckline by 1 cm all the way around. I should have lowered it a bit more. In addition, the length of the neckband is, according to the instructions 40 cm; but if measured, the neckline is 44 cm - that was prior to my alterations. That makes the neckband even tighter and certainly not loose as shown on the photo.
Second issue was the waistband. The instructions have you cut the 38cm long waistband. However, those 38cm correspond to the width of the bodice and when you attach the bodice, you don't get that loose bodice with fitted waistband as pictured. I had to take in the bodice by 4cm to approximately achieve that look. I know I didn't use the rib knit for the waistband; but even if I did, I still wouldn't get that gathered look.
Here are some photos of the finished garment:


Construction wise, the top went together easy. I first joined the front and back bodice at the shoulder seams, attached the sleeves in flat. Sewn the side bodice seams together with sleeve seams. I then attached the neckband and the waistband.
I really like the idea of this pattern, and I will make this pattern again with some major alterations. I'm not disappointed with the results, but I wish my top looked more like the photo in the magazine.
Posted by Maja at 8:28 AM 6 comments
Labels: La Mia Boutique, review, top
Jalie 2449
Tuesday, November 25, 2008

Pattern Description: From Jalie website: Easy-to-make stretch top with crossover neckline and choice of short or 3/4 sleeve.
Pattern Sizing: Pattern includes 22 sizes. I made size R - women size 4.
Did it look like the photo/drawing on the pattern envelope once you were done sewing with it? Yes.
Were the instructions easy to follow? The instructions are clear and easy to follow.
What did you particularly like or dislike about the pattern? I like everything about this pattern. The style is wonderful and versatile. The only thing that I found strange was the neckline on the back because the fabric is simply folded and stitched. I'll probably change that and add a neckband next time.
Fabric Used: Jersey knit.
Pattern Alterations or any design changes you made: I wanted long sleeves, so I lengthened them by approximately 30cm. I also found the top to be a bit short, so I added a band, approximately 5cm wide, to the waist. I would have simply lengthen it, but I forgot to check the length before cutting the pattern out. Ups.
Would you sew it again? Would you recommend it to others? Definitely.
Conclusion: Wonderful and easy to make top. I had this pattern in my stash for quite some time and I really regret not making it sooner. This pattern's a real winner.
Here's the picture of me wearing it:
Notice the drag lines across my bust? Those weren't there while I was trying on the top during construction. I was however wearing a different bra, so that could be the cause.
Here are photos of the back and close-up of the waistband:

Posted by Maja at 1:21 PM 3 comments
Simplicity 4020
Sunday, June 15, 2008
This is my first top for my JCC.
Pattern photo:
My top:
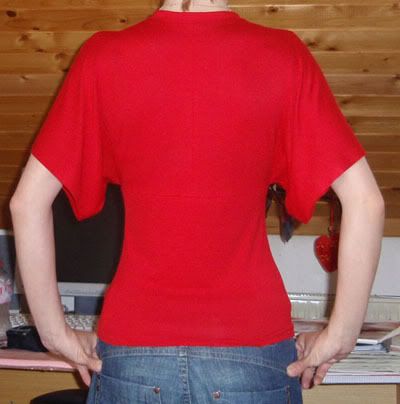
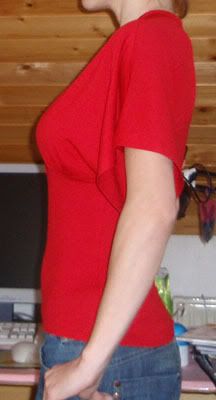
Pattern Description: Misses pullover knit tops. I made view E; short-sleeved kimono style top.
Pattern Sizing: 4-20. I made size 10 straight out of the envelope and it fitted perfectly.
Did it look like the photo/drawing on the pattern envelope once you were done sewing with it? Yes.
Were the instructions easy to follow? I read through them, but didn't follow them exactly. The top is pretty easy to put together.
What did you particularly like or dislike about the pattern? I like everything about this pattern: the kimono sleeves, the fitted bodice.
Fabric Used: Red matte jersey.
Pattern Alterations or any design changes you made: Pattern alterations: As far as sizing is concerned, I made no alterations. Size 10 fitted me perfectly. What a pleasure!
I reduced the SA to 0,7cm because I was short on fabric. I left the 3,2cm hem allowance but only made 0,7cm hem. I found the top to be too short for my figure. I'm short-waisted with D-cup and I find longer tops more flattering.
I also shortened the neck band by about 2cm for snugger fit.
As for the construction, I sewed the entire top with my SM. MY serger refused to cooperate on this project so I used my trusting SM. Even if my serger did cooperate I would have sewn the back seams with my SM. I found that if you use your SM and press the seams open, you get more polished and less bulky seam.
I used a seam-a-steam alternative on sleeve hems. I found it at my local shop and I decided to try it. I'm satisfied with the results.
Sleeve hem:
Additional views:


See the Stitcher's Gulid page on my monitor :-)
Would you sew it again? Would you recommend it to others? Yes and yes!
Conclusion: This top is a wonderful addition to any wardrobe. You can dress it up or down, wear it with dressy pants or a pair of jeans. I definitely recommend it!
Posted by Maja at 10:56 AM 6 comments
Labels: JCC, review, Simplicity, top
Jalie 2682
Saturday, May 3, 2008
I haven't completed a project in over a year. So this would be my comeback :-)
Jalie 2682
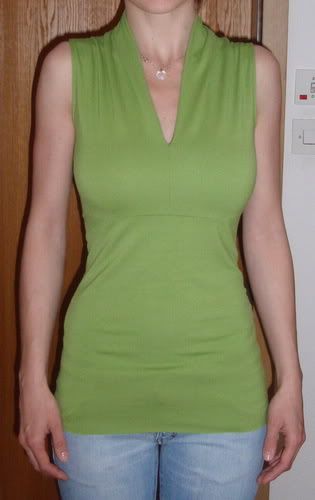
Pattern Description: From Jalie's web-site: Stylish V-neck top, raised neckline at back, with or without sleeves. View A has a zipper at front neckline for more coverage.
I made view B without sleeves.
Pattern Sizing: I started with size R, but ended up taking in a lot.
Did it look like the photo/drawing on the pattern envelope once you were done sewing with it? Yes.
Were the instructions easy to follow? Yes.
What did you particularly like or dislike about the pattern? I love everything about this top, especially the neckline.
Fabric Used: Green jersey.
Pattern Alterations or any design changes you made: First I made a muslin and the top came out too big; not comfy big, but BIG. The only place it fitted right was across my chest. Since the fabric I used was thin and more on the fancy side and I also prefer my tops more fitted, I ended up taking over 3cm (= 1.2 inches) at the sides, but only on the lower parts, not the bodice. I also took in a little on back bodice part as well. If I were making it in a different fabric, especially thicker one, I wouldn't have taken in so much.
Second alteration I made was I lowered the bodice seams by 1.5cm (=0.6 inches) because with the original pattern, the seam came up too high on my bust. Naturally, I had to lower the back bodice seam also to keep seams in balance.
One thing I also noticed with the muslin was that serged seams came out too bulky, especially the ones between the bodices and the lower parts of the top. So I decided not to use my serger and sew the seams with my SM. I presses the seams flat and as you can see on the pics there are no bulky seams anywhere.
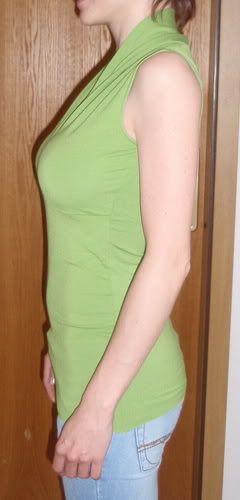
More pics:
Side view:
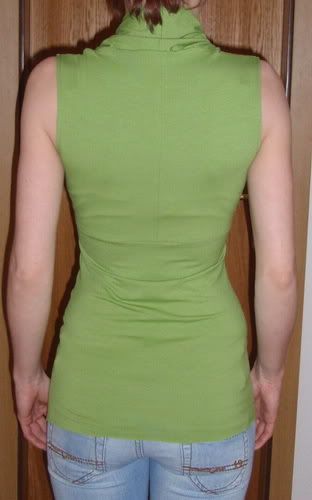
Back view:
Would you sew it again? Would you recommend it to others? Yes and yes. This just became one of my favourite patterns and I will definitely make it again.
Conclusion: As I said, I fell in love with this pattern. If you're looking for a quick and easy top that looks fab, this is the pattern you're looking for. And the best thing about it is that you can dress it up or down depending on the fabric you choose.
Big thanks to Leslie in Austin for sending me this pattern.
Posted by Maja at 11:07 AM 5 comments